Throughout the tigers development during world war 2 the turret went through substantial changes to reduce the complexity of its design. This was a effort to lower sizeable amount each Tiger cost to make and also the time needed to complete each individual tank.
For the Turret Chin, it went through one significant change to decrease its complexity. Early Tigers had a 'L' shaped design that fitted into tight complex cuts on the underside of the turret side armour.
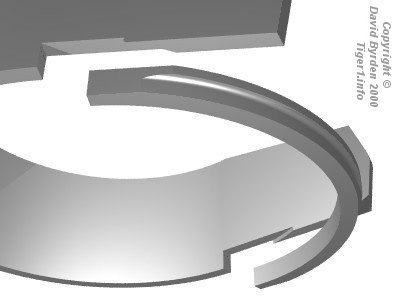
Early Tiger Turret Chin Design
Later designs of the Turret incorporated larger cuts into the turret walls to fit a simpler designed part .
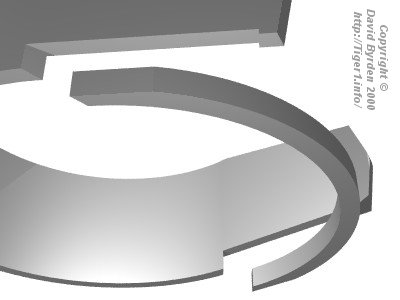
Late Tiger Turret Chin Design
I already had my turret side walls modelled as I have shown in previous posts, so I had to put cuts into it to accommodate the new chin I was modelling. Due to me doing a early Tiger this meant that I had the more complex design to do. I decided to cut the recesses for the welding to go into into the turret walls as well to give it a bit more authenticity.

My Model With The Early Turret Chin Cuts
Next was modelling the Turret Chin itself. The Chin was 100 mm thick and in early Tiger design was up to 120 mm thick in its upper half. The image below shows the L shaped design of the early Tiger chin along side its later design.
The Above Image Shows Thickness's for Early and Late Chin Designs

My Turret Chin Fitted In Place
Now for the finishing touches, I added welding to help finish off the look using the recesses I created.

In Go The Welds
This is my turret as it currently stands, I have been busy getting ready to add the frontal armour bars that sit at the front of the tiger. I have done a bit more work with separating the top armour and adding more welds to match the real life tank.


Tiger Turret Work In Progress Thus Far
I still have to do some of the welds for the escape hatch (reminds self) but next week I will be working to get the frontal armour plates in with the gun sealing frame. This could be a 2 week job to finish off but it will be worth it. I can then look at doing the Gun Mantlet and 88 Gun itself which I have been thoroughly looking forward too. I am planning to model the track link holders ( with track segments) and grenade launchers as the are on the Tiger 131 so don't worry if you have noticed that, I haven't missed them =D.
That's all for this week. I will see you back here early on next week for a ship review for World of Warships. Till then have a great weekend!
No comments:
Post a Comment