Showing posts with label subdivision modelling. Show all posts

Friday, 29 May 2015

Tiger Tank Cupola Update

Hi all,

Though I would give you a update on how I have been progressing on my Tiger Tank. With this week being bank holiday Monday in the UK (Over which I went to a music festival Dot to Dot Nottingham and saw lots of great bands such as Amber Run and Saint Raymond) I've only managed to fit in a little bit of modelling but now the Cupola is really starting to take form with those extra detail that really polish a model. .

This week I looked at modelling the hinge system that connects the hatch to the drum cupola. The hinge works on a 3 piece system with 2 hinges and a link to help close the lid on this great beast. The main Hinge seats underneath what looks like a spring system that would help the commander lift the hatch of his cupola. as the lid was 15mm thick it mush have been fairly heavy. The hatch diameter was 420mm lined with a thick rubber seal to prevent water form entering in deep wading and heavy weather conditions.


Tiger Drum Cupola

The hinge in itself seemed pretty complex for its purpose but the Tiger in general was notorious for being ridiculously over engineered. In WW2 to consider which nation had the least fuel and metal to come up with an idea for a fuel munching metal beast like the Tiger tank was almost insane. 
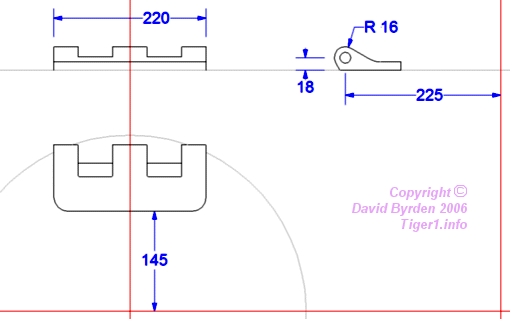

Hinge Technical Drawings

Above is the technical drawings of the commanders hatch lid hinge. I noticed that the fall off curvature from the hinge wasn't quite right in comparison to what is shown from Pictures taken of Tiger 131 in the Bovington Tank Museum. I altered my model whilst using the measurements given to more accurately depict the hinge.


Hinge Wireframe


Hinge Turbo Smoothed

The eyelet that connects the two Hinges looks almost like a bike chain with a little extra to help the lid rest in a stable position when opened.
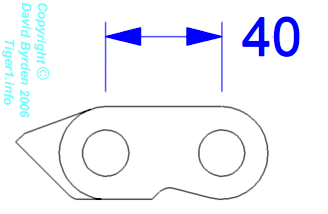


Eyelet Link technical Drawing


Wireframe of Link


Turbo Smoothed Link

The final bit of the hinge is now the bit that is connected to the drum itself. its more or less the mirror of the first  hinge I made but with a few different features.
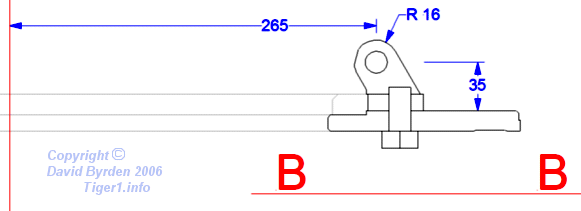

Second Hinge Technical Drawing


Wireframe of Second Hinge


Turbo Smoothed Second Hinge

So the top of the Cupola is starting to take shape now, I have a few more things to do then I can add the 18 degree offset to the top details. Its just easier to keep things this way until the end as any 3D person will know.


Progress So Far =)
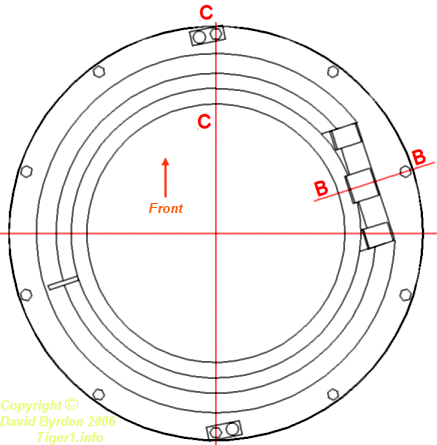


What the Top of the Cupola Will Look like with the 18 Degee Offset


That's all for this week, I hope to catch you back here soon. Till then take care and have fun playing what every you play. Before I go I would like to thank the Tiger website I have been using for all your technical drawings. You have been a great resource. Find the link to it here

Monday, 18 May 2015

Tiger Tank, The Drum Cupola

Hi all,

I did plan to get this post out over the weekend but as things fate conspired against me (i.e. a USB stick had a untimely death when going back to a family event) so I will get this post out as part of my first double post this week. This is just a quick update on How I have been getting on with my Tiger tank and a little sneak preview of my working process.

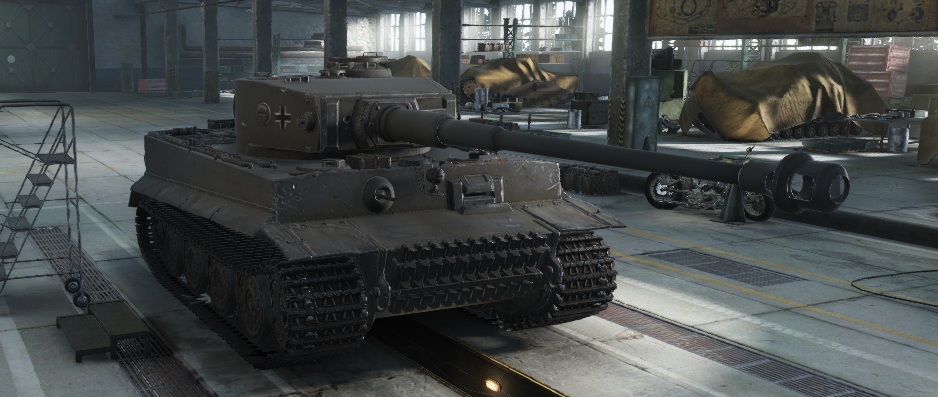
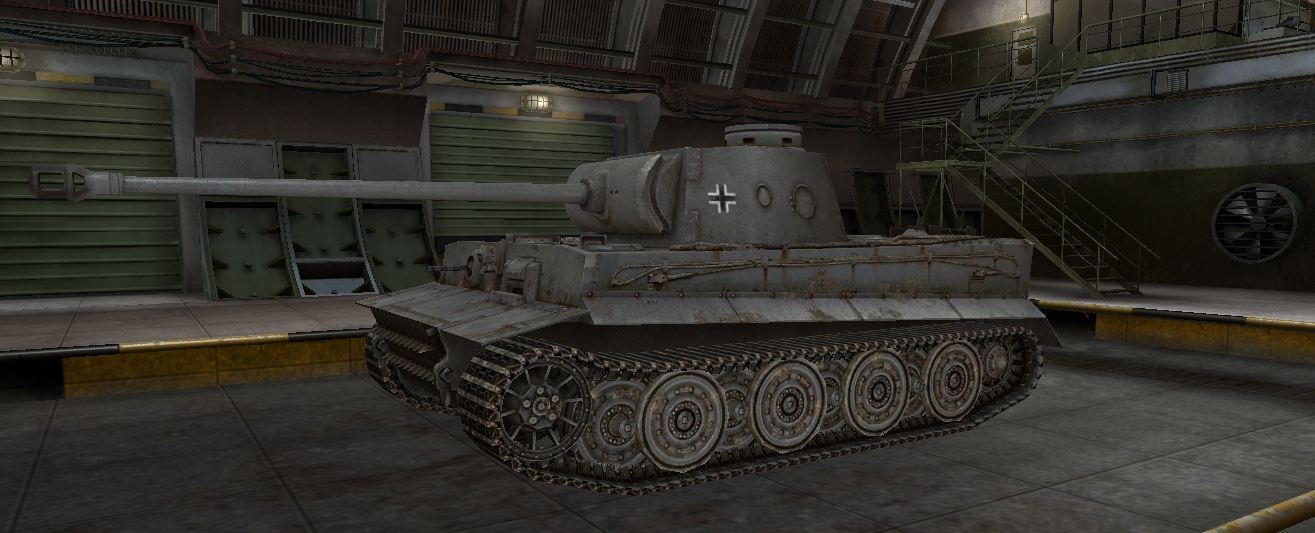
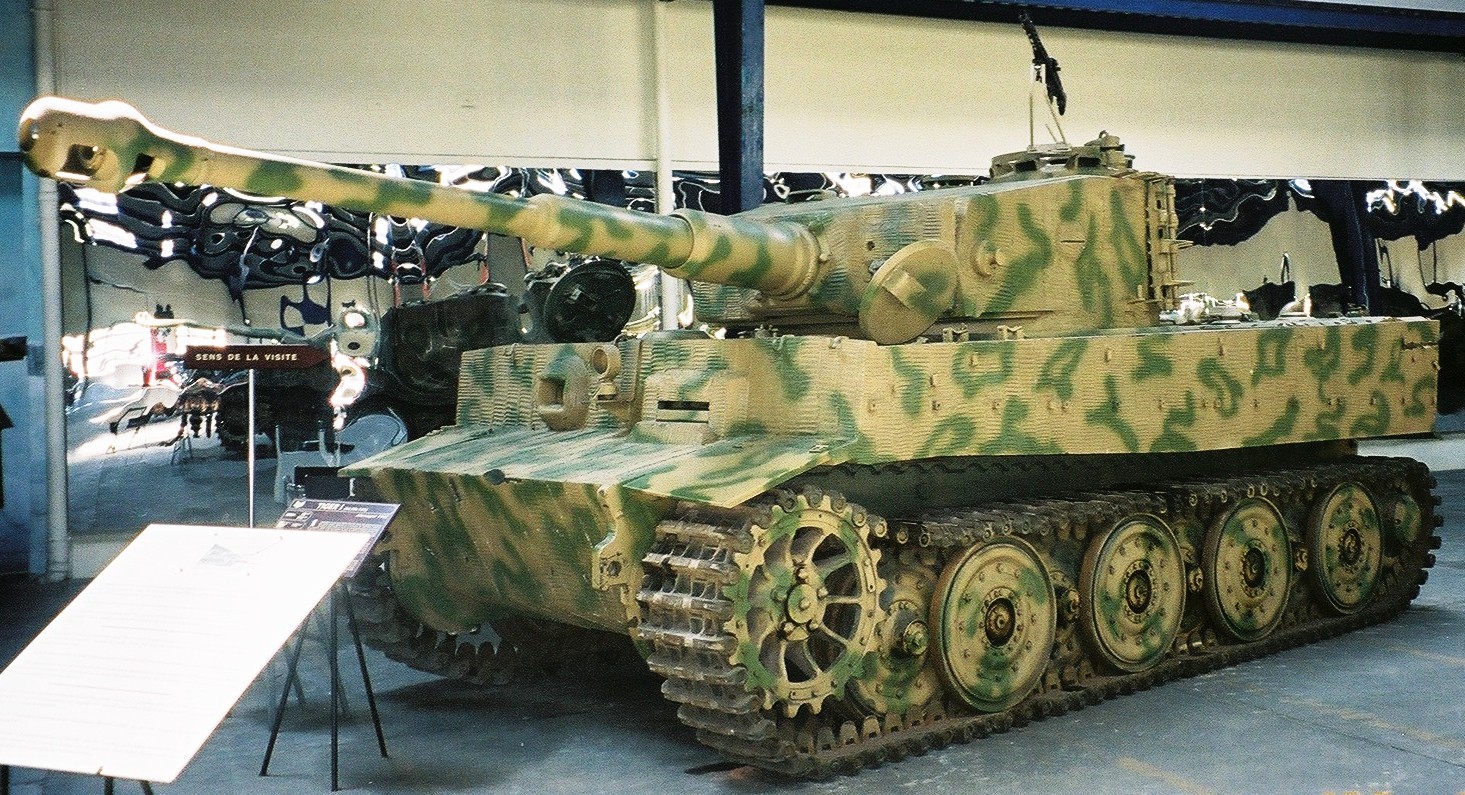
After doing a bit of searching about the look of the Tigers there are 2 distinct types of cupola. The earlier drum cupola mounted in earlier versions gave the commander a higher point of view when viewing the battle field but left his head quite exposed. For those of you that play world of tanks you will be used to seeing the later style turret on the Tiger though I'm not quite sure where the first turret that tiger uses comes from as I have seen no imagery of that style of turret been fitted to a tiger (anyone fancy giving a comment on that would be interesting)


The asymmetric turret everyone recognises with the Tiger Tank 


What is this turret? Stock turret in WoT but when was this used?

When most of the tank from the front had 100mm of armour, which on a ideal engagement would be facing the enemy at a 45 degree angle, made the effective armour around 140mm ish thick (without the proper maths done). A direct shot to the commanders cupola assuming the shot hits on a dime, is only 75mm. Though hitting a drum design exactly at perpendicular angle is pretty hard to go when engagements for tigers were mostly at long range.


Older Drum Design Cupola

Later Tigers incorporated a flatter design which was adopted onto the kind tiger and a similar variety onto the Panther. This cupola design saved on materials needed to build it as well as reduced the vulnerability of the commanders head to fire.


Later variant of Tiger shown by the later varient of cupola, road wheels and gun mantlet

Building the Tigers early cupola really highlights how complex the tank was in comparison to Russian and American tanks. Designed for deep wading up to 4 meters the tank had to have drainage holes cur into areas which water would collate. The 10 round holes cut into he top of the cupola allowed water to drain off from the cupola lid whilst having a 18 degrees offset so the water did not run off directly into the vision slits lower down (very early editions of this cupola had drainage holes above the view ports before this error was noted). 

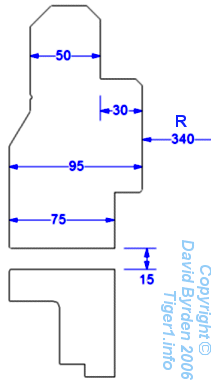
The thickness of the armour variates throughout the drums total structure but on the whole it maintained a 75mm thickness along the main body that covered the commanders head.


Cut through of thickness for tigers Drum Cupola

The Diameter slightly as well as shown in the image below.


Diameter of different parts of the Cupola

All these reference images for sizes and positions are from www.Tiger1.info  which has been a amazing site for technical information throughout this project so far so I can't recommend it enough.

Doing 3D meshes with cuts in always presents a challenge of how best to position your geometry to best get what you are trying to achieve whilst keeping your mesh tidy. This is again harder in cylinders as securing lines in the wrong areas cause pinching. Without creating my own tutorial which would be pointless there is loads of tutorials out there on youtube and this in particular tutorial shows exactly how I structure my geometry when I created my Cupola.


I went one step further than this guy however by figuring out the maths about where I could place my cuts along the Circumference of the cylinder to get the geometry to seat in the exact positions I wanted them too. In short I figured out the circumference, (because I knew the Diameter I could figure out the circumference which is C=πd) then set out cylinders with the exact lengths (for the view port slits in the cupola) and diameter (for the drainage holes) then bent the boolean'd mesh around a central point to create a cylinder. This may be hard to visualise in your head so ill put some pictures below.


Doing this method should in theory place the cuts from the boolean in the exact place they should be if its a perfect circle.

After a little bit more work that what I have shown you here this is where I am with the Cupola. I still have more work to go with it like creating the welds for where it connects to the turret and the hinge to model but I'm fairly pleased with the result. The cylinder still has a little bit of pinching but its pretty negligible 

The Un-Subdivided Wireframe Mesh


The Smoothed Mesh (turbo smoothed)


Smoothed Non Wireframe Result WIP

This is where I am so far, working full time means little time for me to do my own work but its important that I keep it up share and review it for my own self progression. Thats all for now, I hope you've enjoyed this little snippet of my work and keep looking back as I battle my way through this bad boy to create a banging looking Tiger tank. 

Thursday, 26 April 2012

Ammo shortage!

For all the people following this blog they will have known I have been working on the outside area for the building I created a while ago. I have been working on the texture getting it to tile and its starting to take shape and im just feeling my way round the getting the characteristics in that I like. The whole struggle for jobs at the moment has been a real demoralizing time for me and I am sure others that have been forced into the unknown of unemployment at the current economic state. If work seems a bit slow that is more than likely why. It is however important however to keep optimistic and push through. I thought for the mean time I could work on producing some models at the end of my day for turbo squid to keep me financially going for the mean time. A hour or so at the end of the day to crack out some small models that are easy to model and texture to get a nice outcome. This will few extra props for my portfolio and also varying my workflow to keep me motivated. Heres a quick ammo crate that I have modeled in high poly and also a beginnings of a tree.


Thursday, 12 April 2012

final jeep renders


Well after a few days of tweaking and adjusting I think I can proudly close the jeep project and add it to my portfolio. A few extra adjustments to textures and modifying the ambient occlusion bakes on the mesh lead to these images. Enjoy

Monday, 9 April 2012

Blog Update, life of modularity

Hi and welcome to all blog followers far and wide,
Things have got pretty hectic with the holidays and job opportunities being thrown down, and around at the least expectant moments. I have had to do a few proving projects so have had to drop most of my usual things to do them. Unfortunately I wont be able to post them up due to confidentiality but I can say they looked pretty good at the end. In between all this juxtaposition I have finally just about finished my jeep (that seems to have been going on forever). I have a few little changes to do to the textures getting parts to blend with the rest and then I will start posting up some test renders to finally add the jeep to my portfolio site. I have also started a modular building that I posted up on the work in progress segment in my portfolio. (www.danielrohde.crevado.com)As you can see I have been pretty busy with getting this all together plus other projects. The above images are my current project that I have in progress. It is all designed in a modular style to fit in a 2k texture. one set for the outside and one for the interior. Here is the interior diffuse texture pretty much finished (the texture is used on the test render to see how the pieces slotted together along with spec, occ and normal maps).

Its not long now till I begin my work experience with Undrawn Reality (previously called Raw Games) so I'm excited for that to begin. I can then start absorbing infomation and useful tips in the form of osmosis as I am willing to guess there is a lot to learn.

I have a visit also over this weekend to go see Lucian Freud 's life work that's exhibited in London so I will post us things that I can from that.

That's all I can think of for now, chow! =)

Monday, 20 February 2012

Willie Jeep (Work In Progress) 9


This is the interior texture applied after yesterdays tinkering. Finally I'm starting to see the massive change in the Jeep from naked to fully textured. The early stages of the interior texture are looking good already. I may have encountered a problem in not leaving enough UVW space for the seats to add stitching to the fabric. This was a first attempt at lynching a stitching texture from a picture to apply it. It could be the picture resolution or layout, but what ever happens the stitches definitely look wrong and need some revision. The dash board is starting to look good as I concentrated on getting that part right yesterday, although im not sure if I have over done it? Maybe a polycount post to see what people think.

Friday, 3 February 2012

Texture update for jeep: finishing the under carriage,window masking and body dust


Today I ended up finishing the rest of the under carriage blending and texturing. I them moved on to the top side paintwork covering the shell of the jeep. This of course ment that I would have to be extra careful in my approach to texturing it as players would see this more than the undercarriage. The paint as it stood for the topside looked pretty bland and needed some dirt to add to its believability. Using some decaled textures, I screened over the top to give a dusted look with the aid of the smudge and eraser tools. I created a mask layer for the wind screen to give the opacity and to gain the illusion of the existence of glass in the windscreen. I still haven't got that quite right just yet but this will, as normal, change in time. Another thing I'm not quite happy with at the moment is the wheel colour and the dirt upon it. For the mean time the textiring for the tyres will stay as it is but when the model is more complete I will come back to finish them off a bit more. Further more I have had some good comments off polycount.com following the jeeps progression that has been quite encouraging. Working so hard in my room to get employed can be a bit disheartening so getting gems off proactive practitioners is golden for your motivation.